When we take an idea from our imagination and turn it into something real, the result is a real sense of pride. Let’s celebrate bringing things to life with our hands.

“I am different because I brought something new to life in my hands.”
With My Hands book trailer: https://www.youtube.
*************************
Amy Ludwig VanDerwater has written 26 poems celebrating countless ways ideas can come to life with one’s own hands. What I love about the poems is the reminder that creating is a very personal experience. Her poetry sparks an irresistible, primal urge to twist, cut, paint, draw, glue, carve, tie, hammer, to simply make.
In Painting, the painter shares that “nobody can tell I’m painting wrong.” In Collage, the carefully chosen scraps torn from photos are a “window to my heart.” Making also teaches perseverance and patience. In Knot, the narrator says while “it is not easy to tie a knot, I am “knot” giving up.” In Soap Carving and Tie Dye Shirt, we are reminded that it takes time to create something, and in Clay, listening is important because the lump of clay will “tell you what it is and what it is not.”
The very best part about being a maker is that you are forever changed. As Amy Ludwig VanDerwater eloquently writes in the last poem baring the same name as the book title, “I am different because I brought something new to life in my hands.” Fancher’s and Johnson’s illustrations demonstrate a variety of mediums from pencil and paint to collage in their bold yet warm illustrations. The illustrations coupled with the poetry invite all readers to become makers and thinkers by rolling up their sleeves and getting messy!


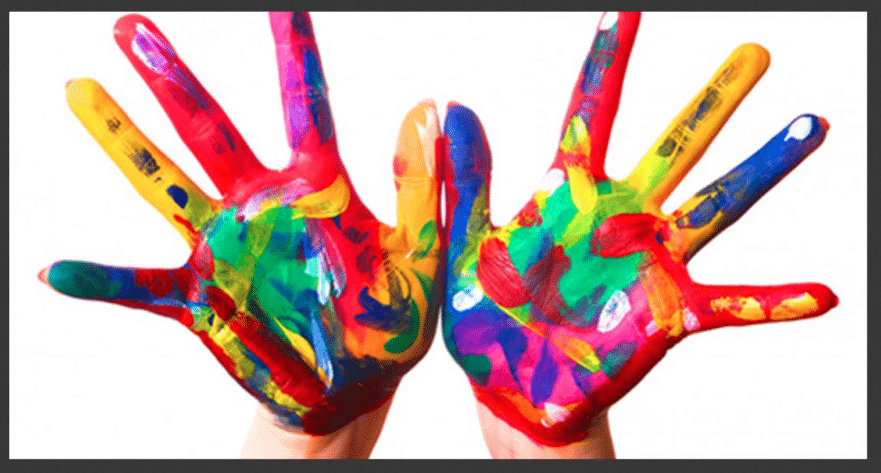
USING OUR HANDS TO BRING THINGS TO LIFE…….
- PAPER WEAVING
Weaving is all about noticing and creating the under over pattern. Strips alternate starting either “under” or “over” the base piece of paper. As the strips get woven, they go up and down, over and under the weaving base. It’s a lot to pay attention to for children, but when they get it…..they really get it! This simple paper weaving project uses simple materials and turns them into a bold artwork!
SUPPLIES – Paper, scissors, glue stick
Colors, size, weight of Paper – Standard 8.5 x 11 is a good size for young children to start and finish in one sitting without getting frustrated. A sturdier weight paper makes it easy to guide the strips of paper through the weaving.

Cut your paper strips – While you can weave virtually anything, for a first weaving experience it’s best to start with straight, even pieces. Cut these in a variety of widths. Cut these so they are 8.5 inches long by approximately 1- 1.5 inches.
- Take a full size paper and fold it in half the “hamburger fold.” That’s folding a paper down the middle the short way, making a squat rectangle. (The example in the pic is 8.5 x 11
- Position scissor on the fold and cut almost to the open edge. Leave about a a fingers width of paper connected at the bottom of that cut.
- Scissors start back at that folded edge again. Leave about two fingers width between the first cut and the new cut. Do this all the way from one side of the paper to the other. Making cuts closer together will not hurt anything but it will make the paper more fragile and the weaving more complex. If this is your child’s first experience keep the spaces larger to make the process as simple as possible. After your student is done it will be worth your time to check these cuts. Make sure they all end about the same distance from the edge of the paper.
- Weaving Paper Strips

Use at least two colors so there is a definite contrast in pattern that your children can see developing as they work. Start with one long strip weaving under, over, under over, each of the white strips.
Use a glue stick to secure those loose ends when the paper weaving is done!

- Making Art With Our Hands
1. Trace around your hand or make a hand print with paint. Write about something you like doing with your hands.OR
2. Trace your hand multiple times overlapping them and make a piece of art.
OR
3. You might to trace the hand of everyone in your family and work together to add designs and color.

